Solutions
By Industry
Wholesale Distribution
Streamline Your Supply Chain
Manufacturing
Modernize Your Manufacturing Processes
Professional Services
Better Project Analysis and Scheduling
Construction
One Place for All Your Project Activities
Beverage
Integrated Solutions for Beverage Producers
More Industries
An ERP for Your Specific Needs
Technology
Microsoft
Microsoft Dynamics 365 Business Central
Run Your Business With a Single Solution
Microsoft Dynamics 365 Finance
Amplify Your Financial Visibility and Profitability
Microsoft Dynamics 365 Supply Chain Management
Maximize Efficiencies, Quality and Profitability
Microsoft Dynamics 365 Sales
Simplify Your CRM Experience
Microsoft Dynamics GP
Microsoft Dynamics SL and NAV
Backbone of your Business’ Operations
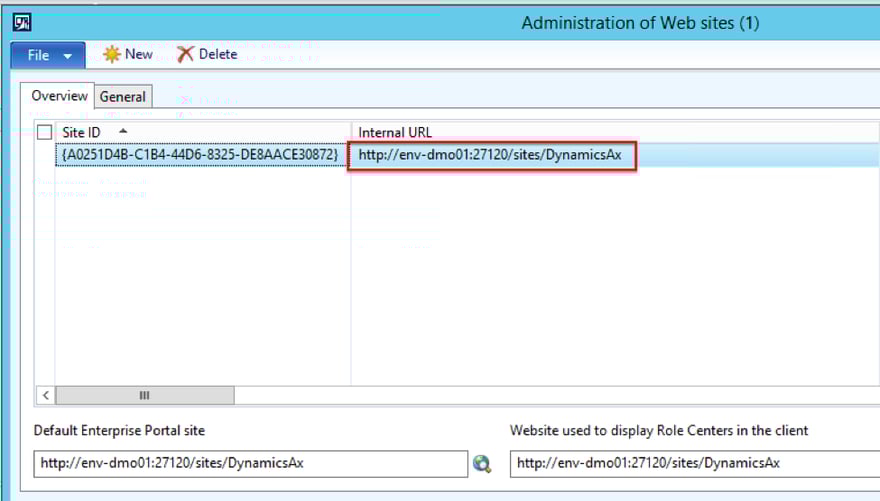
Microsoft Dynamics AX
Expertise to Streamline Your Transition
Microsoft Power Platform
Find Hidden Insights in Your Data
Services