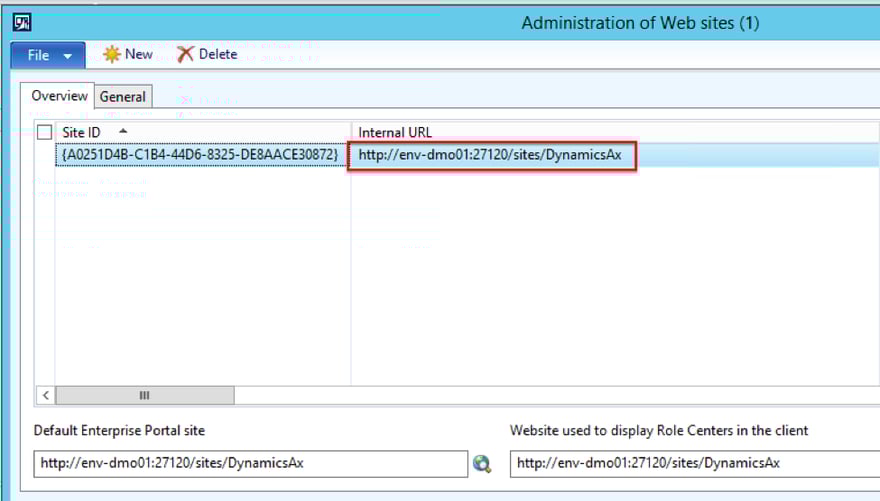
The first step for Travel & Expense (T&E) entry is to log into the Enterprise Portal. The URL can be found here: System Administration > Setup > Enterprise portal > Web sites > Open the ‘Internal URL’ in your browser. Save as a favorite for future use.
Create a new expense report by clicking here:
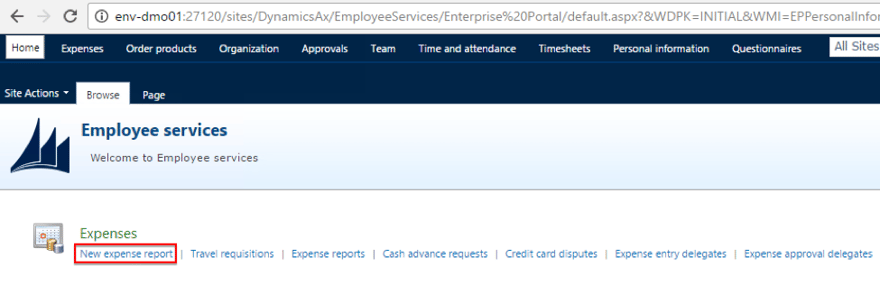
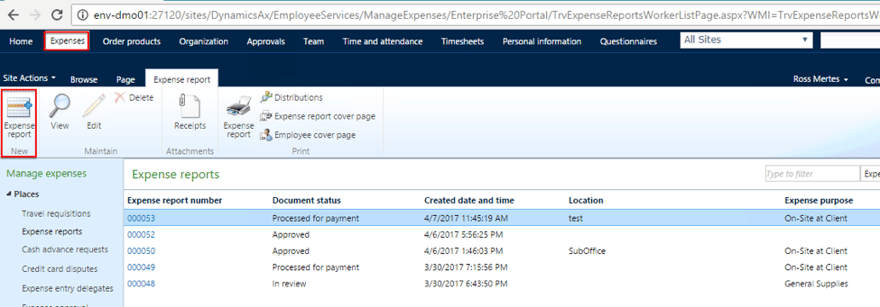
You can also create a new expense report or view previous expense reports from the ‘Expenses’ tab.
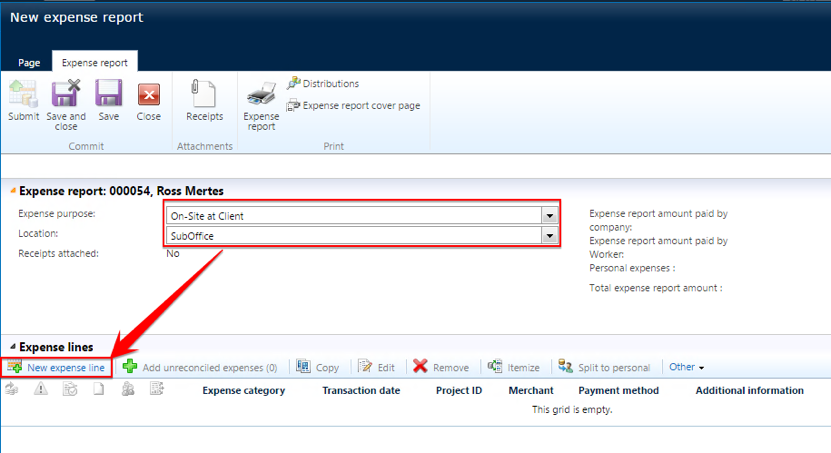
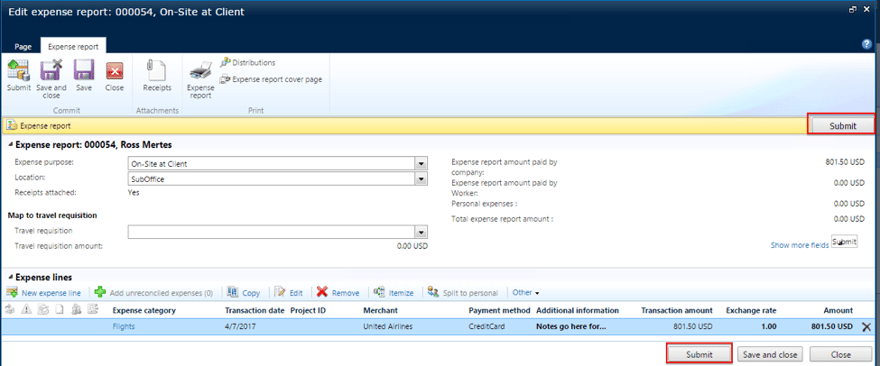
Start by entering in the expense purpose and location by selecting them from the drop-down arrow on the right-handside.
To add the lines to the report (actual expenses), click on the ‘New expense line’ button.
A window will pop-up asking you to specify the expense category. Select from a pre-defined list by clicking the drop-down arrow.
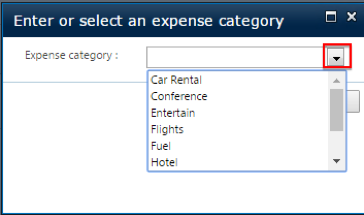
Click OK once selected.
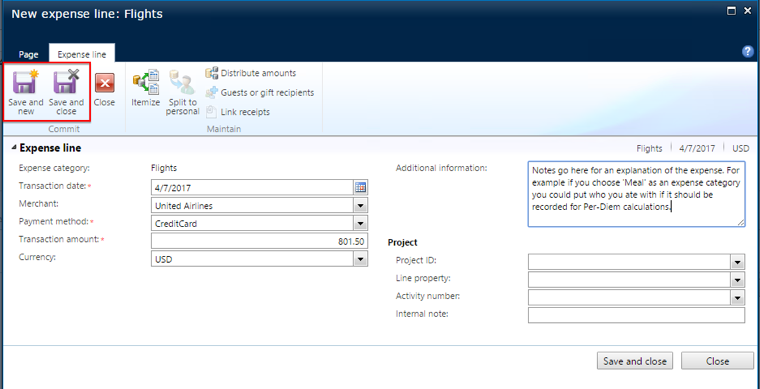
All of the fields with a red asterisk ( * ) are mandatory fields. The use of projects is optional. If you do not enter a project, then the GL account specified on the expense category setup will be impacted.
Once you have entered in the expense you can click ‘Save and close’ if this is the only expense you are entering or you can click ‘Save and new’ to enter in another expense.
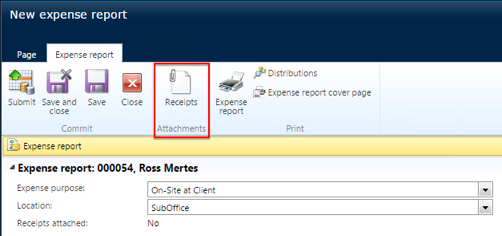
Once you have entered in all your expenses; you will need to attach receipts. Click here to upload the receipts:
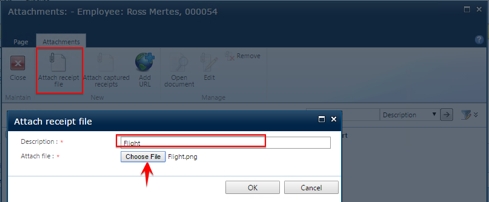
Click the ‘Attach receipt file’ button > Enter a description for the receipt and click ‘Choose file’ to browse your PC for the file to attach. Click OK when done.
The window will close and your attached file will be visible on the ‘Attachments’ screen. If you select the line, you will also see a preview of the attachment:
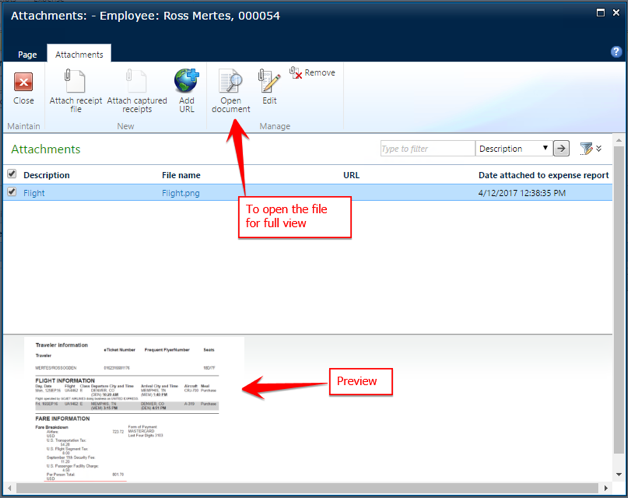
Repeat these steps until all receipts are attached. Click ‘Close’ when the last receipt is attached.
When the expense report is completed, click one of the two ‘Submit’ buttons. This will then be sent to whomever is specified in the ‘Expense report’ workflow (Setup is located here: Travel & Expense > Setup > Travel and expense workflows)
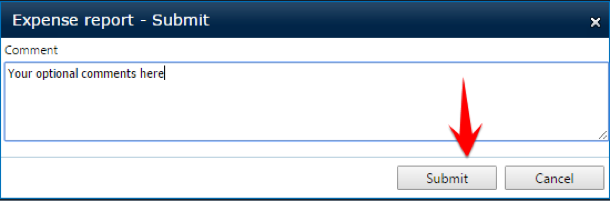
A new screen will pop-up prompting you to enter in a comment. These will be visible to your approver and are optional to enter.
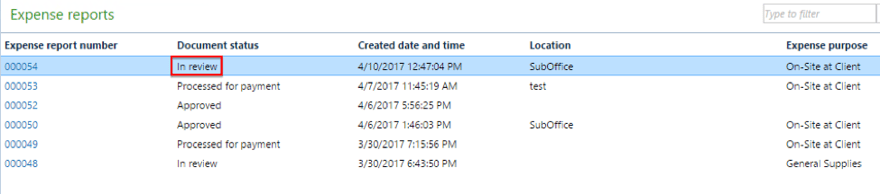
Once you have submitted the timesheet for approval you will notice the status of your expense report has changed to ‘In review’.
APPROVERS:
There are 2 ways to review/approve submitted timesheets:
- On the employee portal, under the ‘Approvals’ tab, click on the ID field to open.

2. In AX: Travel & Expense > Expense reports > All expense reports: Double click to open.
Open the expense report to view it. You can view the attached receipts by clicking on the ‘Receipts’ button. There are 3 ways to approve: Click the ‘Approve’ button, Click the ‘Actions’ button and select approve or click the ‘Approve’ button at the bottom of the screen.

You can also reject or delegate (to another user). The ‘view history’ button will show you the workflow history. You will see the comments submitted by the user in this section:

No matter what you choose, a comment box will pop-up where you can enter optional comments which will be visible in the workflow history. Click ‘Approve’.
You will notice that the document status has changed from ‘In review’ to ‘Approved’.

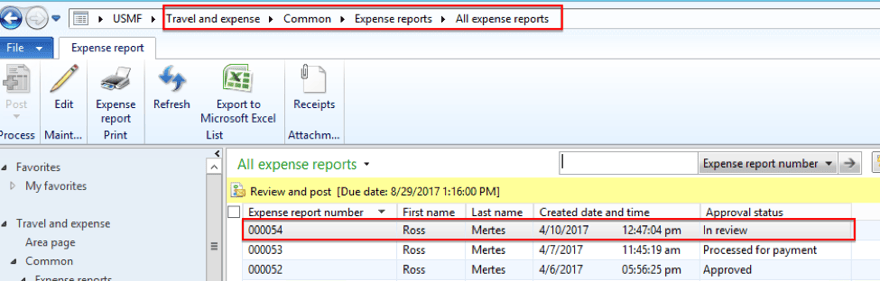
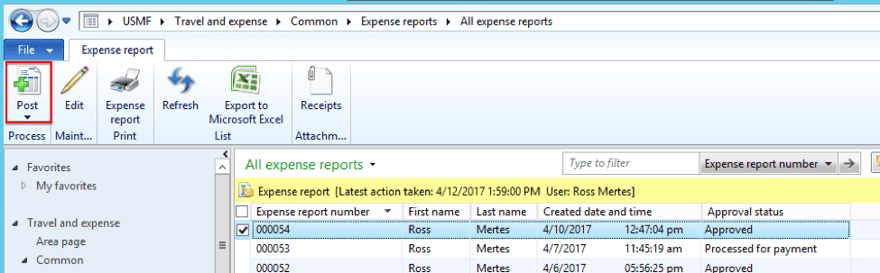
The last step is to post the expense report. This can only be done from within AX, posting is NOT available in the portal. Travel & Expense > Expense reports > All expense reports > Select expense report > ‘Post’ button in the action pane:
You will notice that the ‘Approval status’ has changed from ‘Approved’ to ‘Processed for payment’
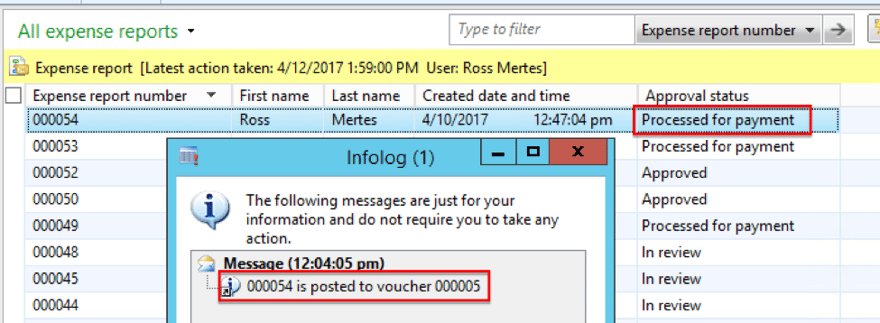
The expense report has now been posted and payment can be sent to the employee (vendor). A check can be created by the normal AP payment journal process.
The author of this article is an ENAVATE Microsoft Dynamics AX Consultant who has been involved in numerous projects and implementations for Microsoft Dynamics AX and D365 for Operations. The consultant holds certifications in multiple categories including: Trade & Logisitcs, Financial, Projects and Service Management.